Now, Bitsbox coders can! Here's how to use the Make Your Own Stamp tool in Bitsbox:
1. Let your imagination run wild!
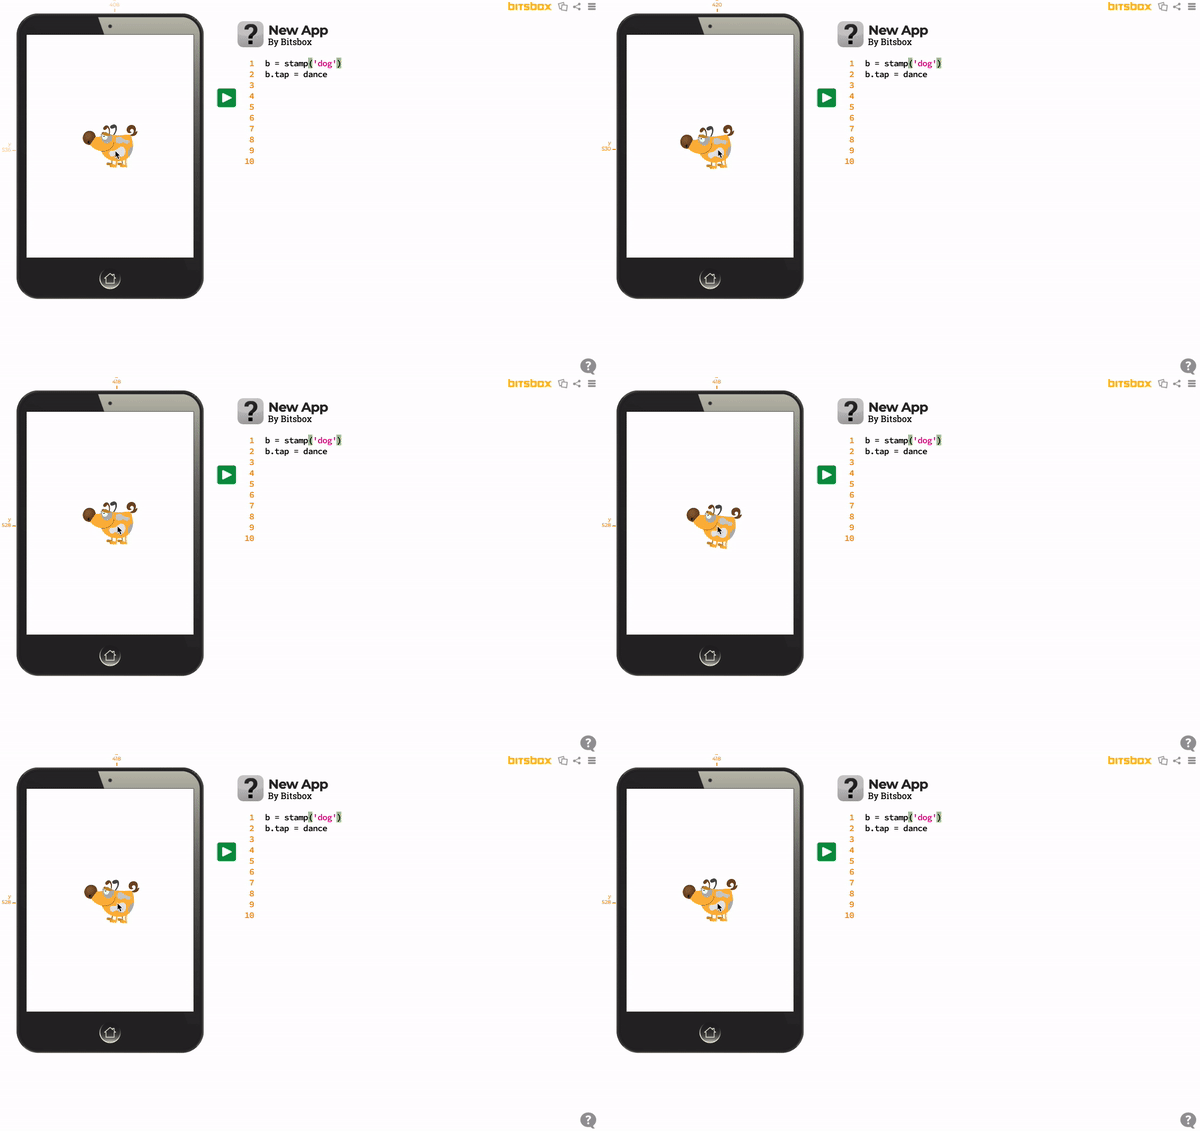
Above is a pretty basic app I built. I may be biased, but the Bitsbox Library has over 20 dog stamps, and none of them are as cute as my own dog.
So let's replace it with a custom stamp!
2. Click Stamps in the Bitsbox Library 
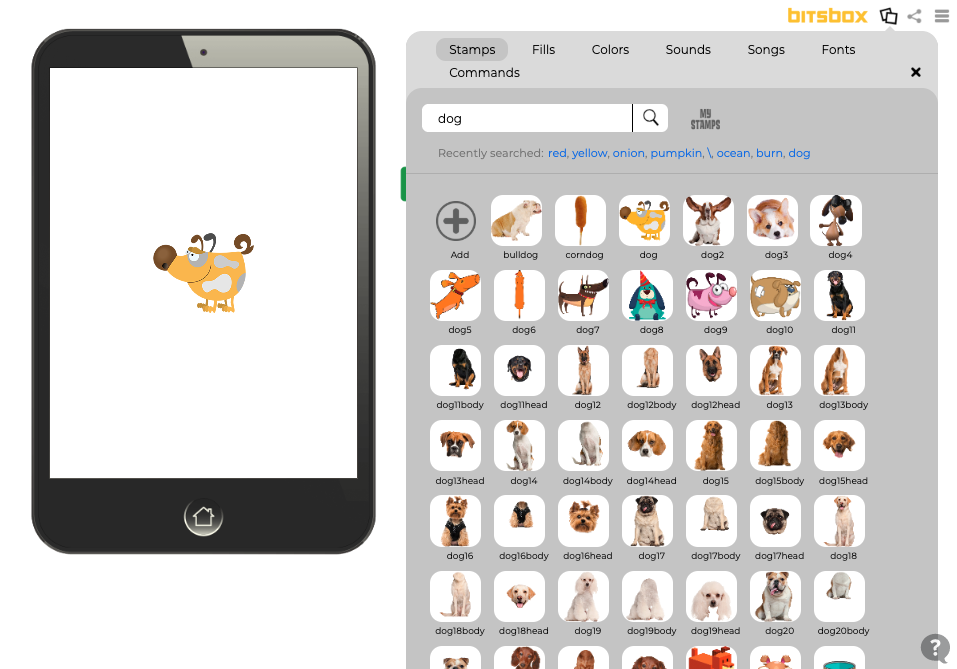
3. Click the big plus sign—Add!
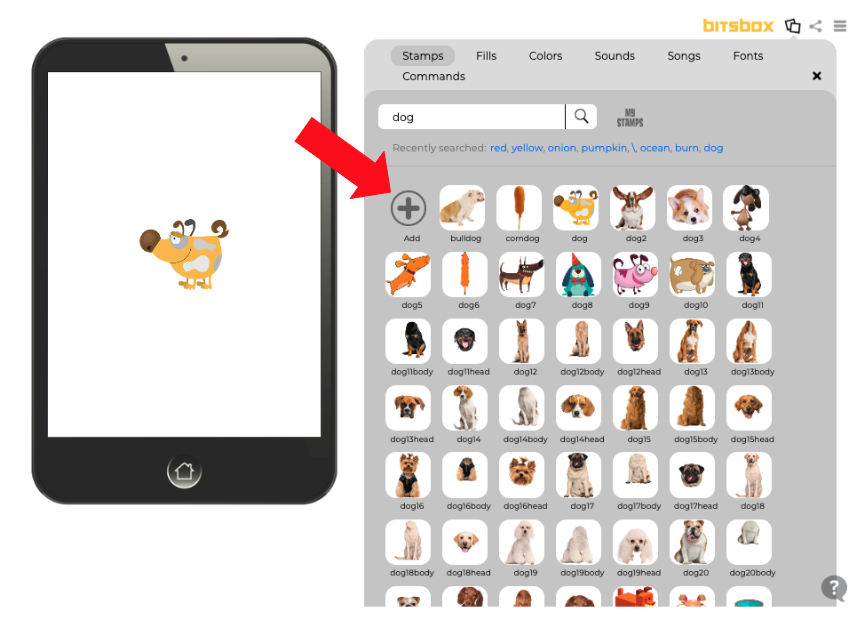
4. Upload your own image
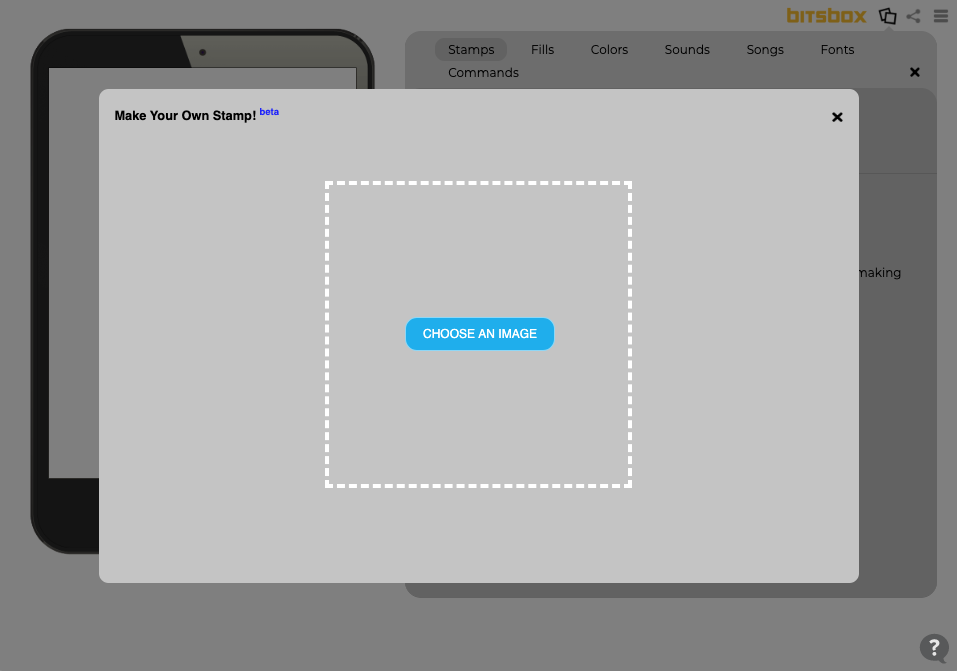
You can use any picture that ends in one of these extensions: jpeg, jpg, png, gif, or bmp.
5. Name your custom stamp
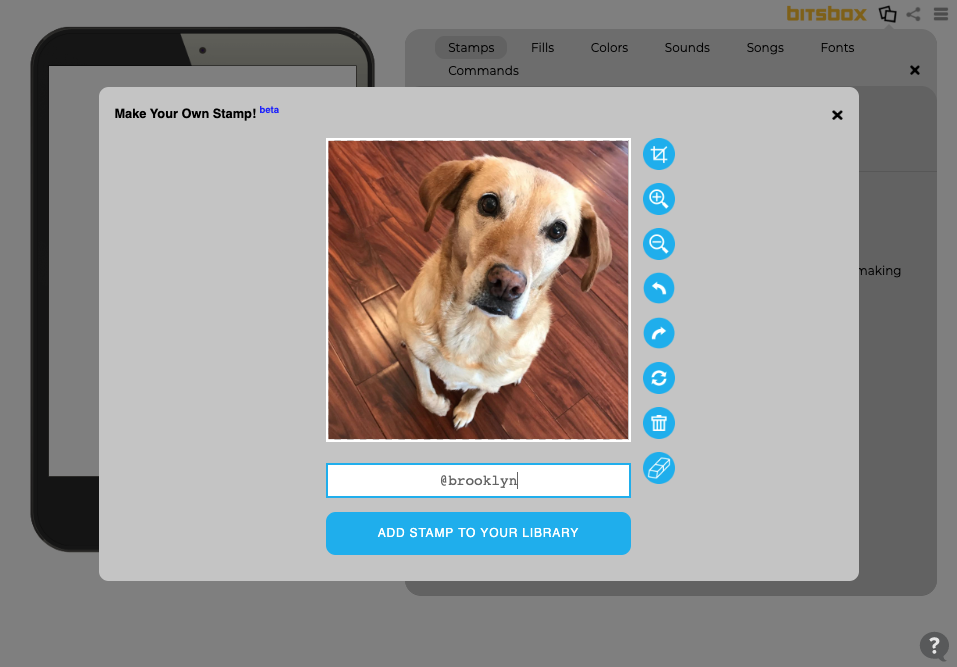
I gave my new stamp the name of my actual dog: Brooklyn! Notice that custom stamps have an @ sign automatically added to the beginning of their name. So, when I want to use my stamp of Brooklyn, I have to use stamp('@brooklyn').
6. Edit your stamp (if you want to!)
See the blue circles to the right of the photo? These allow you to crop, zoom in/out, rotate left/right, and—my favorite—erase the background!
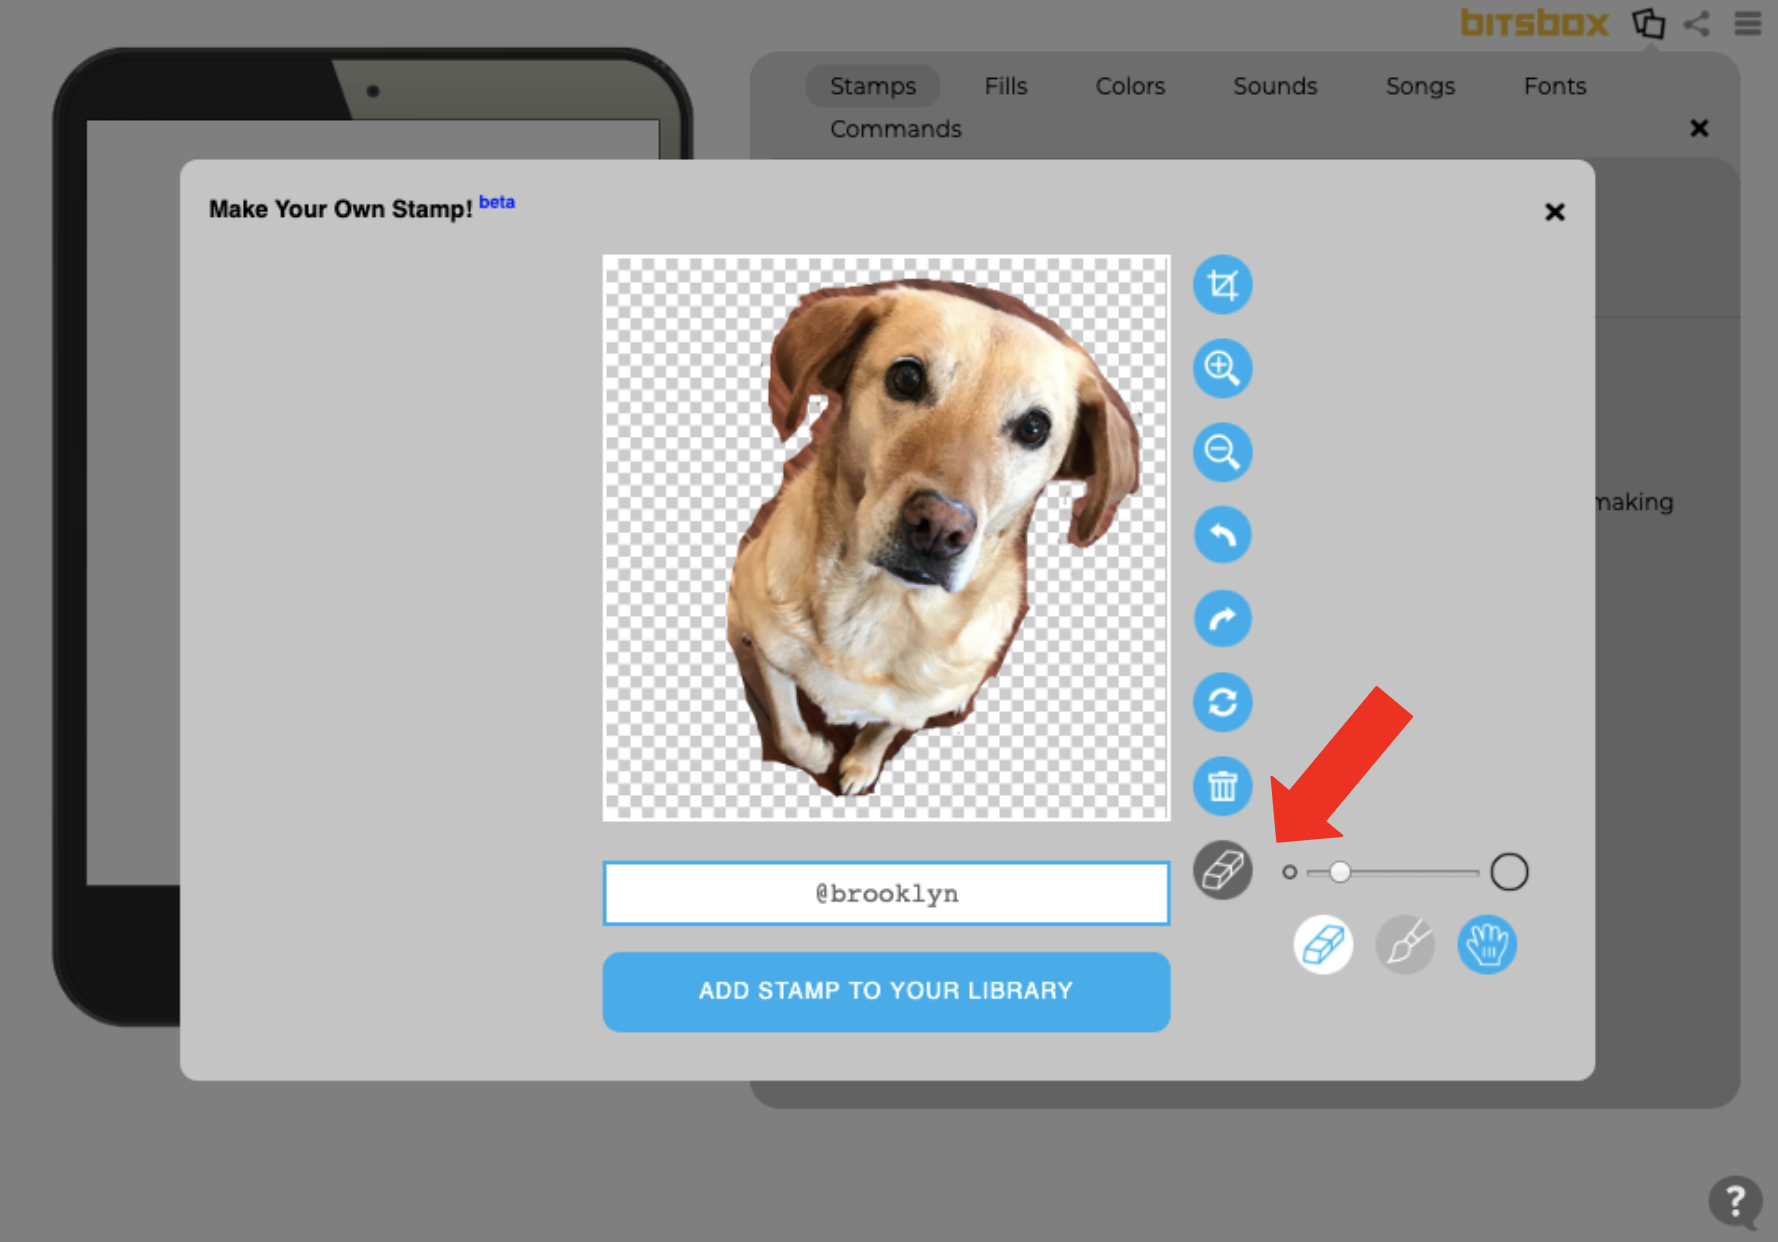
You can even change the size of the eraser so you can erase those hard-to-reach places, like under the ears! 😉
When you're done editing, click Add Stamp To Your Library!
Aaaand voilà!
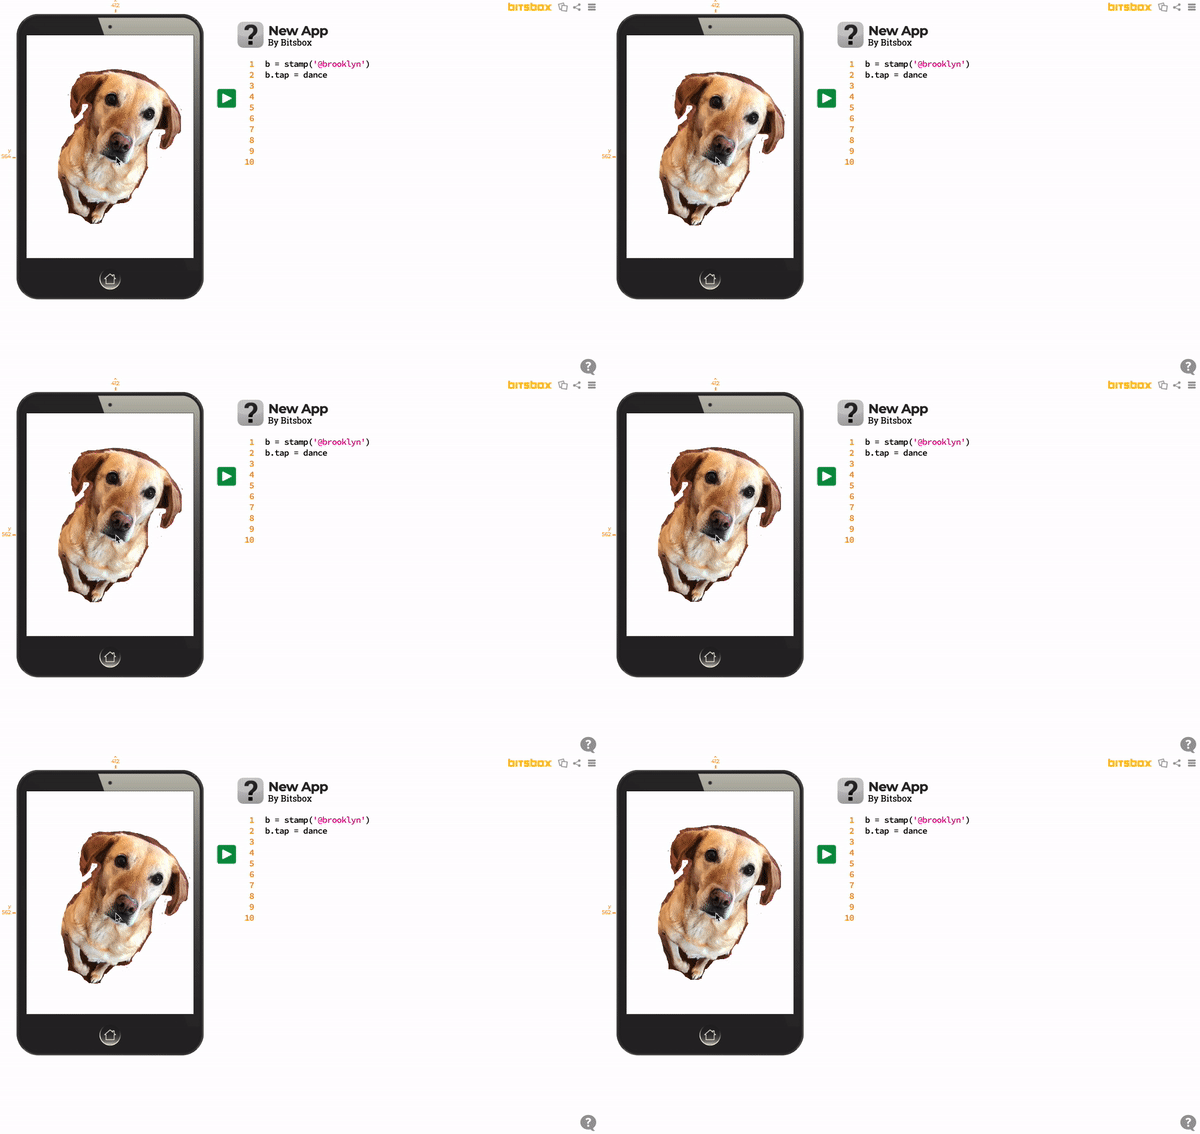
Remember to use the @ sign when you write your custom stamp!
Share the apps you create by using #BuiltOnBitsbox!
